In this post we will set up once more serverless infrastructure via Terraform: an Airflow deployment using Amazon Managed Workflows, plus GitHub Actions to automatically sync the DAG code to S3.
As a baseline we will fork Claudio Bizzotto’s great repository claudiobizzotto/aws-mwaa-terraform, which already includes all Amazon Managed Workflows Terraform code. We will add the S3 sync on top. This will allow us to the deploy our GitHub code to the Airflow service. You can find the forked repository here: stelsemeyer/aws-mwaa-terraform.
Terraform setup 🔗
It will take around 30 minutes to create the managed Airflow using Terraform. The setup is not within the free tier, and it will produce cost of around 1$ per hour!
We will use the following variables within terraform.tfvars:
region   = "eu-central-1"
profile  = "airflow"  # we use an AWS profile in ~/.aws/credentials
prefix   = "airflow"
vpc_cidr = "10.192.0.0/16"
public_subnet_cidrs = [
  "10.192.10.0/24",
  "10.192.11.0/24"
]
private_subnet_cidrs = [
  "10.192.20.0/24",
  "10.192.21.0/24"
]
mwaa_max_workers = 2
We can plan our infrastructure using terraform plan, and if we are happy with the results, we can terraform apply it:
Plan: 31 to add, 0 to change, 0 to destroy.

Changes to Outputs:
  + access_key_id        = (known after apply)
  + mwaa_environment_arn = (known after apply)
  + mwaa_webserver_url   = (known after apply)
  + private_subnets_ids  = [
      + (known after apply),
      + (known after apply),
    ]
  + public_subnets_ids   = [
      + (known after apply),
      + (known after apply),
    ]
  + region               = "eu-central-1"
  + s3_bucket_id         = (known after apply)
  + s3_bucket_name       = (known after apply)
  + secret_access_key    = (known after apply)
  + vpc_id               = (known after apply)
Airflow webserver 🔗
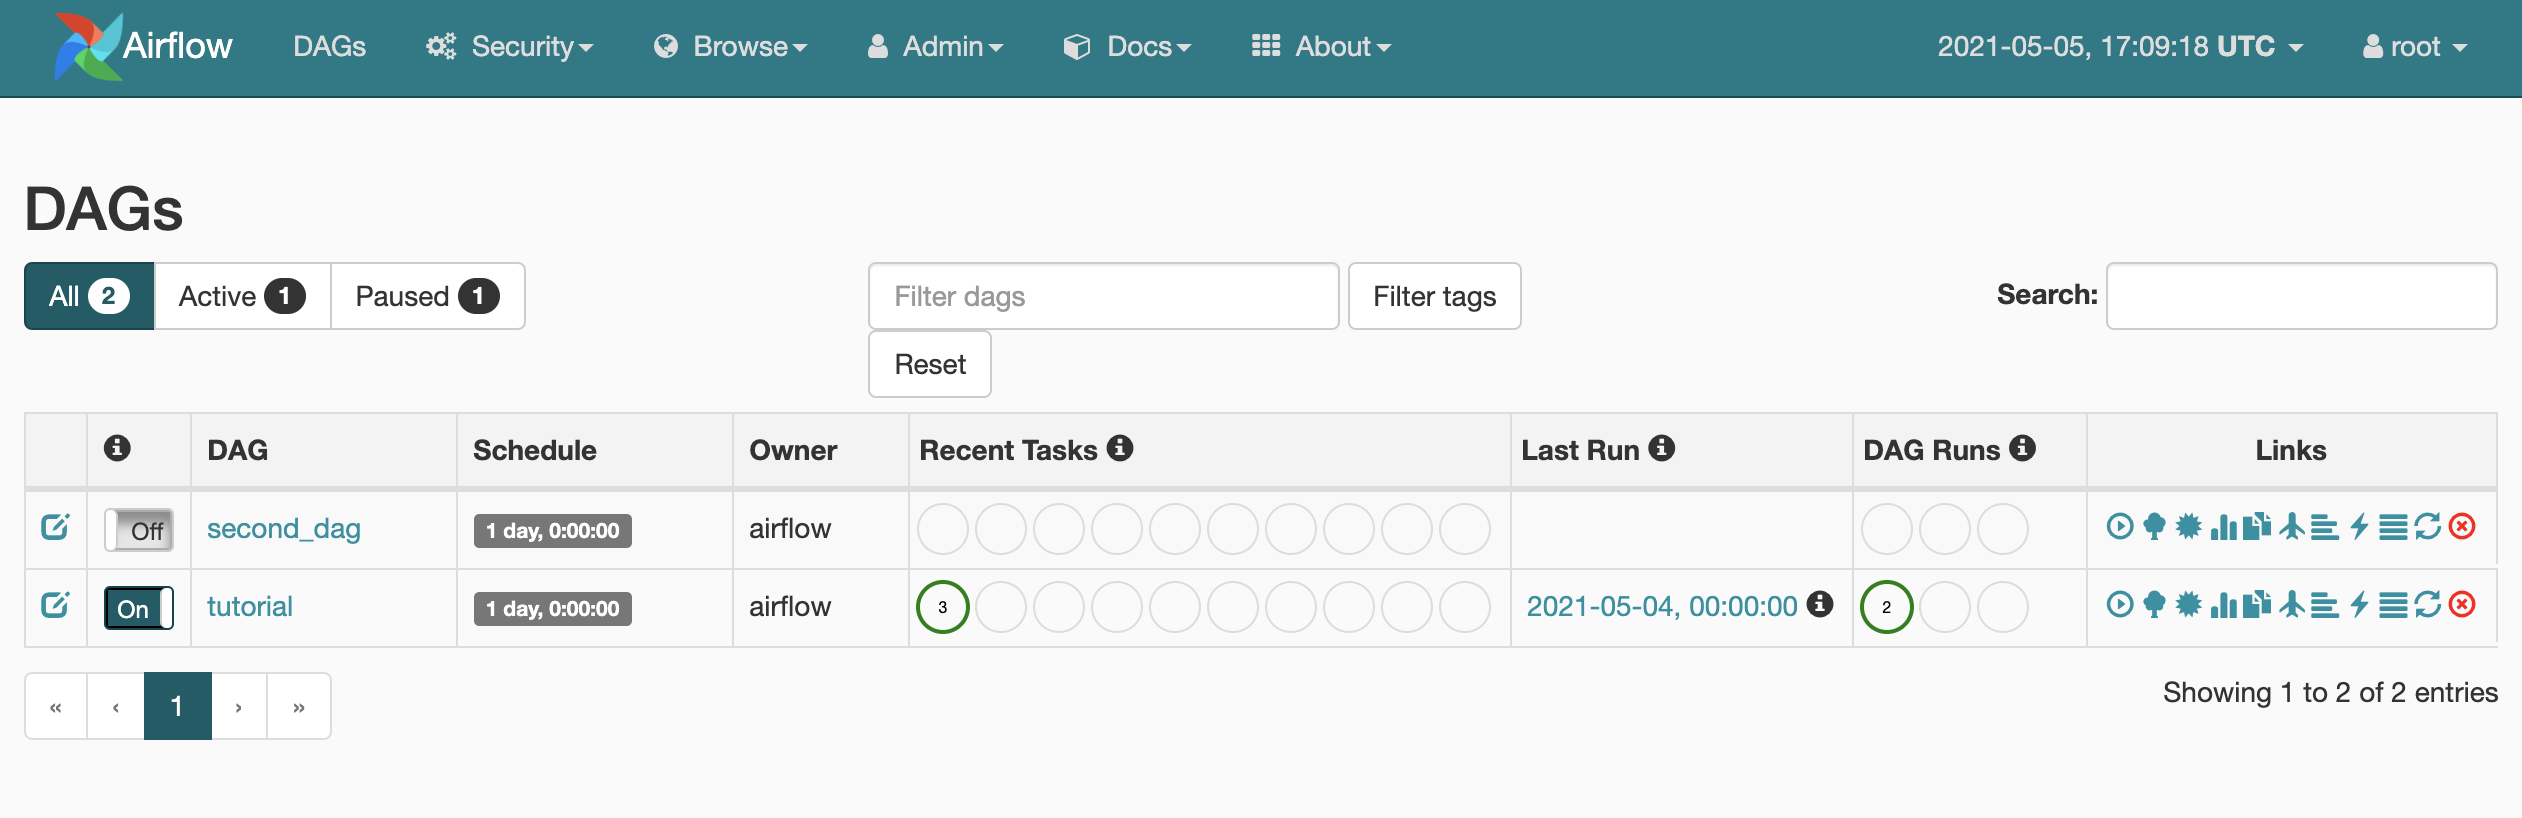
Once everything is created, we can visit our Airflow webserver instance. For this, we need to be logged into the AWS console. We can then either access it via Amazon Managed Workflows or use the link from the terraform output.

We should see the Airflow UI, including the two DAGs in the dags folder, which initially were uploaded to S3 by Terraform.
DAG sync using GitHub Actions 🔗
To set up the GitHub Actions to automatically sync our dags folder containing the actual DAG code to S3, we can use the access_key_id, secret_access_key, region and s3_bucket_name from the terraform output. We add those values as Secrets to the repository:
AWS_ACCESS_KEY_IDAWS_SECRET_ACCESS_KEYAWS_REGIONAWS_S3_BUCKET
The workflow yaml file .github/workflows/sync.yml defines the action we want to perform: we sync the folder dags to S3 using jakejarvis/s3-sync-action once we merge to the main branch. We can customize the trigger to only execute the action on tags or similar.
name: Sync dags

on:
  push:
    branches:
    - main

jobs:
  deploy:
    runs-on: ubuntu-latest
    steps:
    - uses: actions/checkout@master
    - uses: jakejarvis/s3-sync-action@master
      with:
        args: --follow-symlinks --delete
      env:
        AWS_S3_BUCKET: ${{ secrets.AWS_S3_BUCKET }}
        AWS_ACCESS_KEY_ID: ${{ secrets.AWS_ACCESS_KEY_ID }}
        AWS_SECRET_ACCESS_KEY: ${{ secrets.AWS_SECRET_ACCESS_KEY }}
        AWS_REGION: ${{ secrets.AWS_REGION }}
        SOURCE_DIR: 'dags'
        DEST_DIR: 'dags'
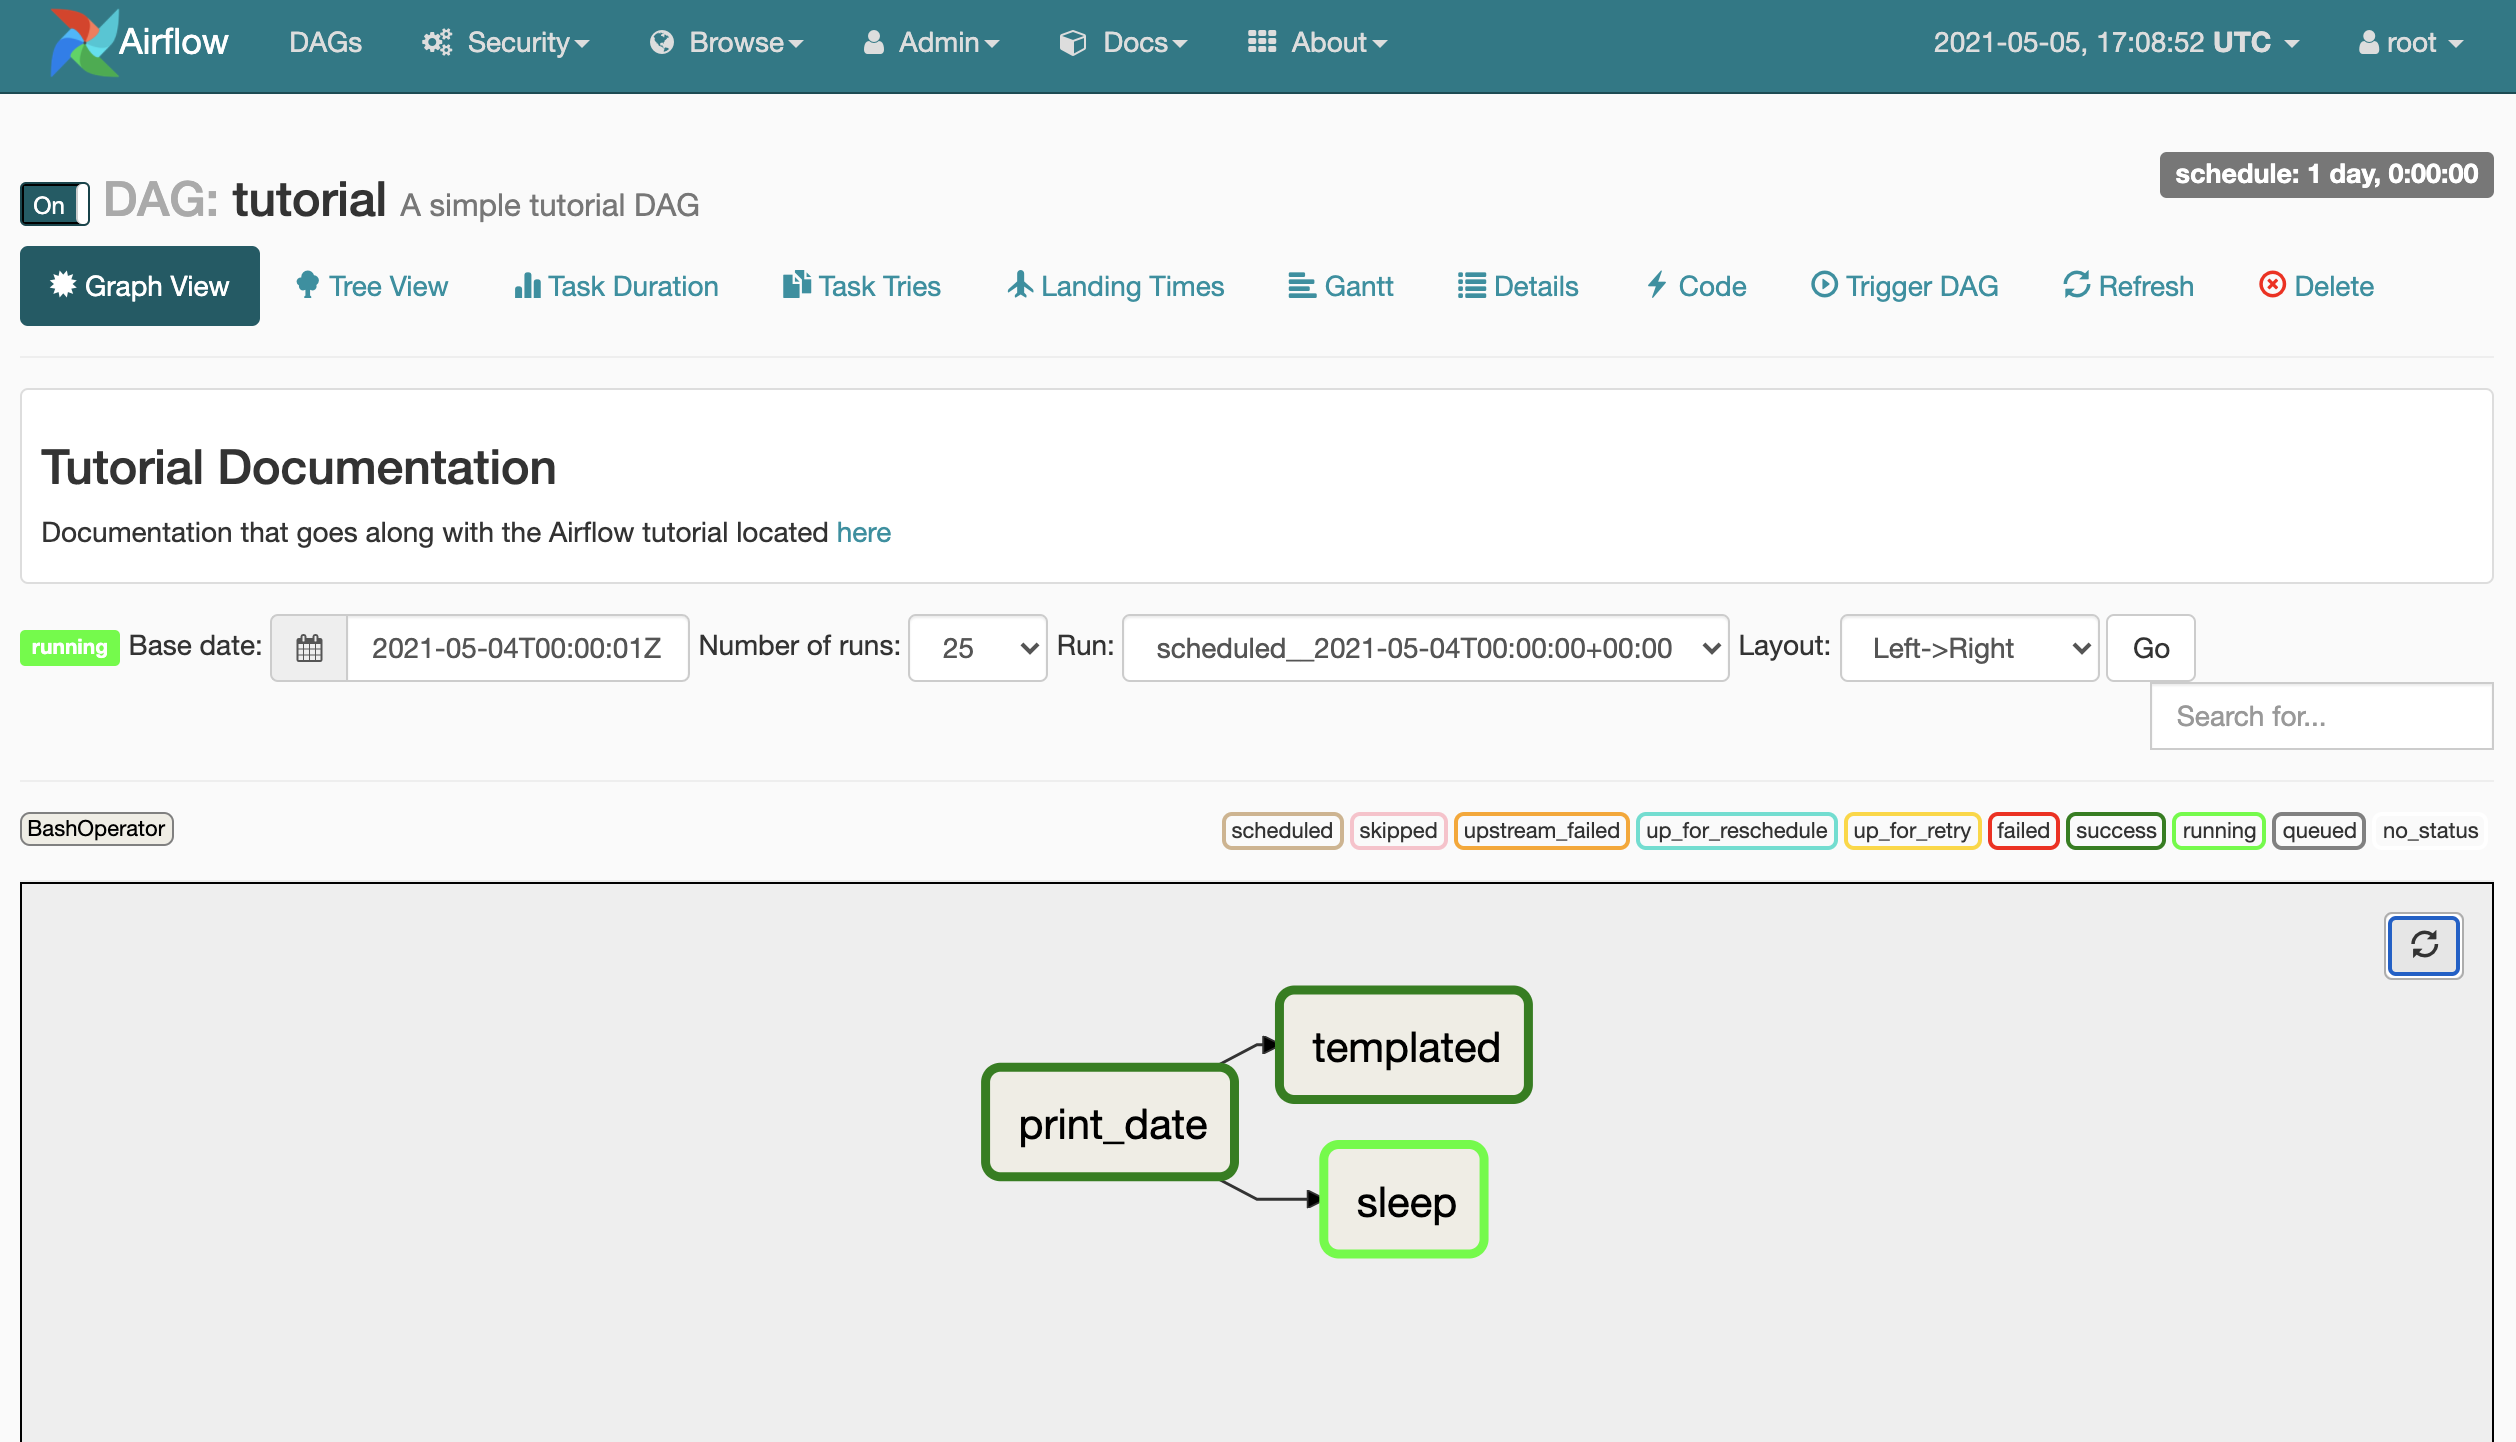
Via the Workflow tab on GitHub we can view the workflow statuses. Whenever we merge to main, the files will be synced to S3, and we should be able to see the update DAGs in our Airflow UI within seconds (you may need to hit the refresh button).

Destroy 🔗
To destroy the infrastructure, you need to delete all files in the bucket first:
# BUCKET_NAME = $(terraform output -json | jq -r .s3_bucket_name.value)
# aws s3 rm s3://${BUCKET_NAME} --recursive
We can then destroy all infrastructure via terraform destroy, which will again take around 20-30 minutes.
# terraform destroy
Conclusion 🔗
As usual, when using serverless infrastructure, we need to compromise between maintenance, control and cost. This post discusses the advantages and disadvantages of Amazon Managed Workflows quite well, which we can sum up here:
Advantages 🔗
- easy ingegration with other AWS services (like Redshift, EMR, SageMaker)
- autoscaling for both time- and cost-efficient scheduling
- monitoring and logs using CloudWatch
- AWS managed security, including VPC
- containerized workflows via Fargate
Disadvantages 🔗
- we cannot ssh into our Airflow instances or access the Airflow database itself
- relying on AWS provided Airflow versions
- confined to cloud provider
All in all, deploying Airflow on our own hardware or cloud instances is more complicated than the MWAA setup, but it would allow us to customize more easily, use the KubernetesPodOperator to run tasks on Kubernetes and so on. For the individual use case, we have to weigh up the pros and cons. If you want to test Airflow first, using the managed version may be a good idea, as you can easily move your dags into your own deployment once you want to migrate away from it.